Apparently a good headshot makes for above average book sales. When you have packaged a book well with the right content, the right presentation and the right look and a potential buyer picks it up, he or she ultimately turns over to the author profile. The author profile picture supposedly makes or break the sale, assuming the book has what the buyer is looking for. A great headshot will lift sales. A terrible picture will dampen them. A neutral frame will have no effect. Positive, vibrant energy sells. Depressing, anemic and dull colors don’t.

Figure 1 Full color or black and white?
Did I just make all of that up? Apparently not, while there are no well documented or cited studies, informal and anecdotal conversations suggests that as buyers we like great profile pictures. Holding everything else constant a great profile picture can certainly close a sale.
So with this background, we went hunting for a great profile picture for the upcoming Option Greeks Primer, scheduled to hit bookshelves in early 2015.
The first step was searching Quora for photography advice on better headshots, which these days represents the sum of all human knowledge on popular topics, as long as you know the right search keywords. We picked up some really good recommendations on planning and doing a shoot. More importantly, the Quora answers led us straight to John Clark’s collection of amazing profile shoots that became our benchmark for what a truly outstanding headshot looks like.
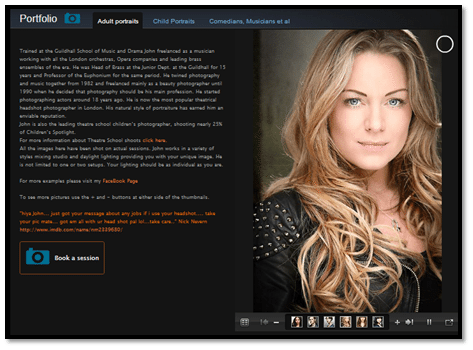
John delivers great value but he was about 6,300 kilometers too far for a shoot that had to be done in Karachi before this weekend’s publisher deadline for submitting the author marketing form. So we had to settle for John’s closest next of kin, who shall remain nameless since she did such an amazing job of shooting the shoot with the limited equipment we had that all knowledge of her existence has now been classified.
Here were the basic ground rules distilled from Quora and a number of light tests done before the shoot.
1. Nothing beats diffused daylight. If you have access to a window with a screen go for it. You can counter the shadow on the other side of your profile with lights. While we did a few tests late evening, the best shots came out around midday. So late evenings are out, mornings and afternoons are in.
2. You need help. So a point and shoot and a teenage cousin or sibling is not going to cut it. We luckily had access to a halfway decent camera and a professional photographer who took the time to set up and run the shoot. Without which you can rule out acceptable results.
3. A good shoot runs for about three hours and takes about 200 odd shots that yield about 30 shortlisted candidate pictures. We then ran a second filter on lights, smiles, eyes, focus and color to create a list of 5 finalists that yielded the profile picture to be used in the author marketing form.
4. The three hour shoot requires wardrobe choices within button downs, collars, jackets, colors and neckties. The key being the ability to quickly change out of colors and collars that are no working into ones that need to be tested. And lots of water and cotton towels to manage the heat generated by the lights. You would be surprised how quickly your smile fades, your cheeks begin to hurt and your throat dries up. Forget the photographer, being a subject for a shoot is a tough job.
5. Before the shoot is done, as a subject you should have an idea of how your face works within headshots. If you don’t, ask the photographer to run a few sample profile shots and blow them up on a large screen to identify perspectives that flatter you versus those that don’t. It also helps if you have a colleague, an agent or a second pair of eyes to instantly review the results on camera as the shoot progresses.
6. If you are not happy with the results. Don’t be shy to do a reshoot.
(Then there is that whole bit about personal grooming, a good night sleep, baggy eyes, pale skin and listless gestures. But we will leave that for the section in Quora. Go look it up.)
We did a mix of serious, smiles, toothy beams, subtle grins, color and black and white. But the shoot was the easiest part of the process. Selecting the 30 second listers and the final 5 was even more draining. Once that was done the last step was doing a quick second opinion poll test on the final 5 to get a reaction for the shot to be used for the author profile.
Here are 4 of the final 5. The 5th candidate is the black and white pose we used earlier in this post above.
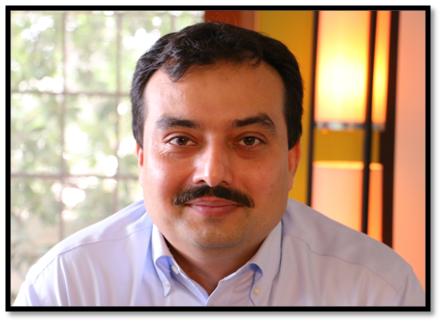
Figure 2 The placeholder image for testing reactions – Option D
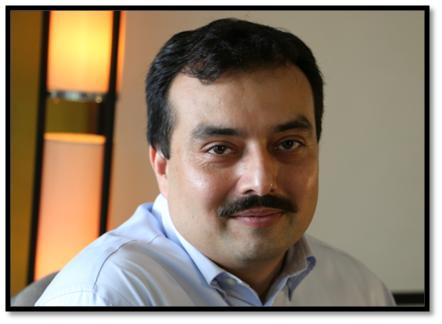
Figure 3 The mug shot – the second runner up – Option C
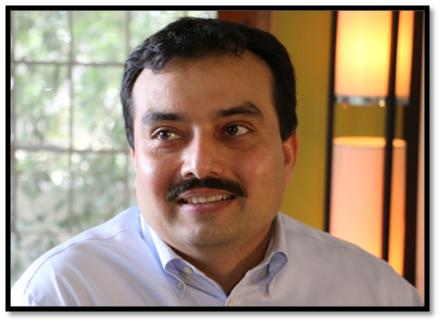
Figure 4 Option A – The candidate with the most votes in the reaction poll
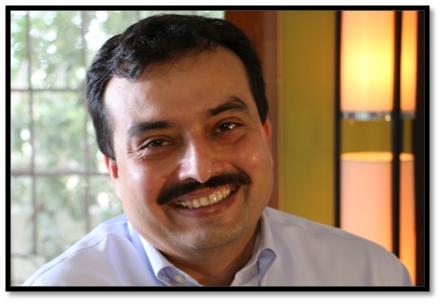
Figure 5 Option B – A mixed bag of reactions
Based on the group we used for testing, we opted for full color over black and white and the shot with a mix of background colors versus plain white. It sounds counter intuitive but there was some reason to our madness. The final decision was made after we plugged the pictures in the frame within which the shot would be used. We picked a winner and slept on it before making the final call the next morning.

Figure 6 The frame test
There you go. Three days in total. A day of testing, half a day of shooting, half a day of filtering, followed by the final shortlist and an opinion and reaction poll. End to end from the point that we decided to organize the shoot to the point that the author marketing form and the profile image was finalized and submitted.
Don’t try this at home without adult supervision, a semi-professional camera and a photographer with professional experience.